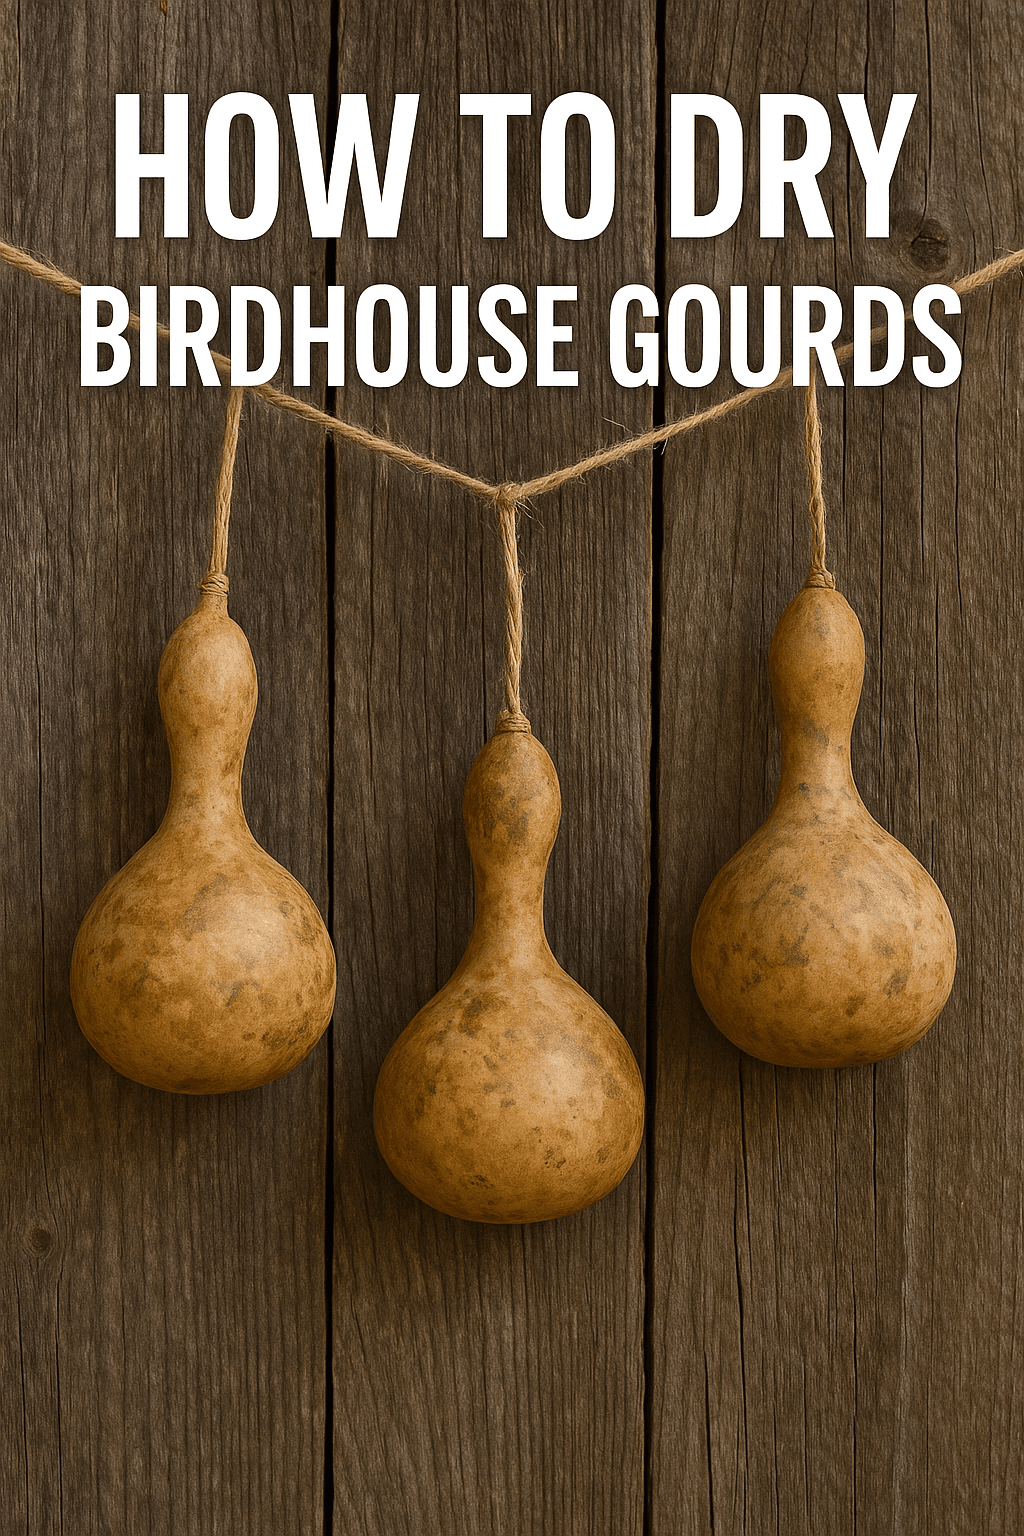
Short Answer: Birdhouse gourds should be dried in a cool, well-ventilated space for several months until they become lightweight, hard, and hollow. Proper cleaning, spacing, and airflow ensure they cure without mold and are ready for crafting durable birdhouses.
Growing and drying birdhouse gourds is a rewarding process for gardeners, bird enthusiasts, and DIY crafters alike. Although growing gourds is fairly simple, the real transformation happens during the drying stage. This step determines how strong, durable, and long-lasting your finished birdhouse will be. Because drying takes patience and attention, understanding the correct method is essential if you want a smooth surface, mold-free finish, and ready-to-use gourds.
This complete guide explains how to dry birdhouse gourds from the moment they’re harvested until they become fully cured shells. You will learn how to handle mold, how long drying takes, and how to prepare gourds for crafting once they are ready. Whether you’re working with your first batch or looking to improve your results, these tips will help you achieve beautiful, long-lasting birdhouse gourds.
When to Harvest Birdhouse Gourds
If you’re still growing your gourds, make sure you know how to grow gourds for birdhouses before drying them, harvesting happens after the vines die back naturally. Gourds should remain on the vine as long as possible because additional time outdoors strengthens the shell. When they are ready, the stems turn brown and dry, while the gourd skin becomes firm and hard to the touch.
Because timing influences the drying success, picking too early can result in rot, while picking too late can expose gourds to frost damage. Therefore, it’s best to harvest before extreme winter temperatures, but only once the vine has completely dried.
Preparing Gourds for Drying
Before you begin the curing process, rinsing the gourds with water removes dirt and insects. Although some mold during drying is normal, starting with clean gourds reduces the risk of internal decay. Cutting the stem with pruning shears, leaving at least two inches attached, prevents moisture loss from the neck too quickly.
Many growers also dip their gourds briefly in a mild bleach solution to discourage mold growth during the early drying period. While optional, this step is helpful for humid regions where higher moisture can slow the curing process.
The Step-by-Step Drying Process
Stage 1: Surface Drying
The first stage focuses on removing exterior moisture. This process typically lasts several weeks and requires the gourds to be placed in a well-ventilated area. A porch, shed, or garage with airflow works best. During this time, you may notice mold forming on the gourd surface. This is normal and part of the natural curing process.
Because mold can look concerning, many beginners assume the gourd is rotting. However, as long as the gourd remains firm and the mold is only on the shell, there is no issue. Wiping the surface occasionally with a cloth helps keep mold manageable, but it is not required.
Stage 2: Internal Drying
This is the longest part of the process, often taking two to four months. Inside the gourd, the seeds and pulp dry out until they become loose and rattle. The shell continues hardening and becomes lighter.
Good airflow is essential during this phase. If gourds are stacked or touching, moisture gets trapped, encouraging rot. Therefore, spacing them evenly ensures each side dries uniformly. Rotting gourds will feel soft or collapse; these should be removed so they don’t affect nearby gourds.
Stage 3: Final Curing
Once the gourds feel lightweight and you can hear seeds rattling when shaken, they are fully cured. The surface may be stained or mottled from the mold patterns that formed during drying, which gives natural gourds their rustic character.
At this stage, the gourds are ready to be cleaned, sanded, painted, or cut into birdhouses.
How Long Does It Take to Dry Gourds?
The drying process varies depending on climate, humidity, and gourd size. Small gourds may finish drying in two months, while large birdhouse gourds may require four to six months. Because colder temperatures slow evaporation, winter-harvested gourds may take even longer.
Despite the long curing period, patience is essential. Rushing the process leads to weak shells or internal rot, which makes finishing the birdhouse impossible.
Tips for Preventing Mold and Rot
Although some mold is expected, excessive mold growth or soft spots can indicate a problem. Increasing airflow with a fan, wiping heavy mold with a vinegar solution, and rotating gourds regularly help reduce risk. Choosing a drying area free from moisture, such as a well-ventilated shed rather than a damp basementn, helps keep conditions stable.
Placing gourds on wire racks instead of solid surfaces also encourages better air movement underneath. Because every side needs equal exposure, turning the gourds every week prevents moisture buildup on the bottom.
Cleaning and Preparing Dried Gourds
Once fully cured, gourds can be scrubbed clean with water and steel wool. This removes the outer mold residue and exposes the smooth, hard shell beneath. Some people choose to sand the surface lightly for painting, while others prefer leaving the natural patterns intact.
If crafting a birdhouse, a hole saw can be used to cut the entrance hole. Removing the dried seeds and pulp is easy because they rattle inside. After cleaning, painting or sealing protects the surface from weather damage.
Pros and Cons of Drying Gourds at Home
Advantages
Drying your own gourds is cost-effective, rewarding, and allows complete control over quality. Because you can grow multiple gourds on a single vine, it’s an efficient way to produce birdhouses year after year. Additionally, naturally dried gourds last for years once sealed.
Disadvantages
The main challenge is the long drying time, which requires patience and consistent monitoring. Mold, temperature fluctuations, and humidity can interfere with proper drying. In some cases, a few gourds may rot during the process.
Common Mistakes to Avoid
One frequent mistake is drying gourds in airtight spaces. Without ventilation, moisture becomes trapped and rot develops quickly. Another error is trying to clean mold too aggressively during the early stages. While light wiping is fine, scrubbing too soon can weaken the soft outer skin.
Harvesting too early also causes problems. Immature gourds do not dry properly because their shells haven’t fully hardened.
FAQs
How do I know when a gourd is completely dry?
A fully dried gourd feels lightweight, has a hard shell, and rattles when shaken.
Do all gourds get mold during drying?
Yes, most birdhouse gourds develop mold naturally. It is harmless unless soft spots appear.
Can gourds dry outside?
They can, but it’s risky if temperatures drop below freezing. Outdoor curing works best in mild climates.
Why did my gourd rot instead of drying?
Rot typically occurs because the gourd was not fully mature, lacked airflow, or was exposed to excess moisture.
Conclusion
Drying birdhouse gourds is a slow but essential process that transforms fresh gourds into durable, long-lasting shells perfect for crafting. By harvesting at the right time, spacing gourds properly, and ensuring strong airflow, you can achieve strong, mold-free gourds ready for cutting and decorating. Although the process requires patience, the results are worth it, beautiful natural birdhouses that can last for years.
If you’re planning to grow your own next season, learning how to properly dry them is the key to success.
Sanom is a lifelong nature enthusiast and passionate backyard birder who has spent years observing bird behavior and building DIY birdhouses. With a deep curiosity for species like chickadees, wrens, and woodpeckers, he shares practical tips and heartfelt stories to help others attract, shelter, and appreciate the wild birds around them. Whether you’re crafting your first birdhouse or simply enjoying morning songbirds, Iftekhar’s guides on BirdHouseTales.com are designed to bring you closer to the magic of birdwatching.