Short Answer: To grow gourds for birdhouses, plant hard-shell gourd seeds in full sun after the last frost, provide a sturdy trellis or support, water consistently, and allow the gourds to mature and dry completely before cleaning and crafting them into birdhouses.
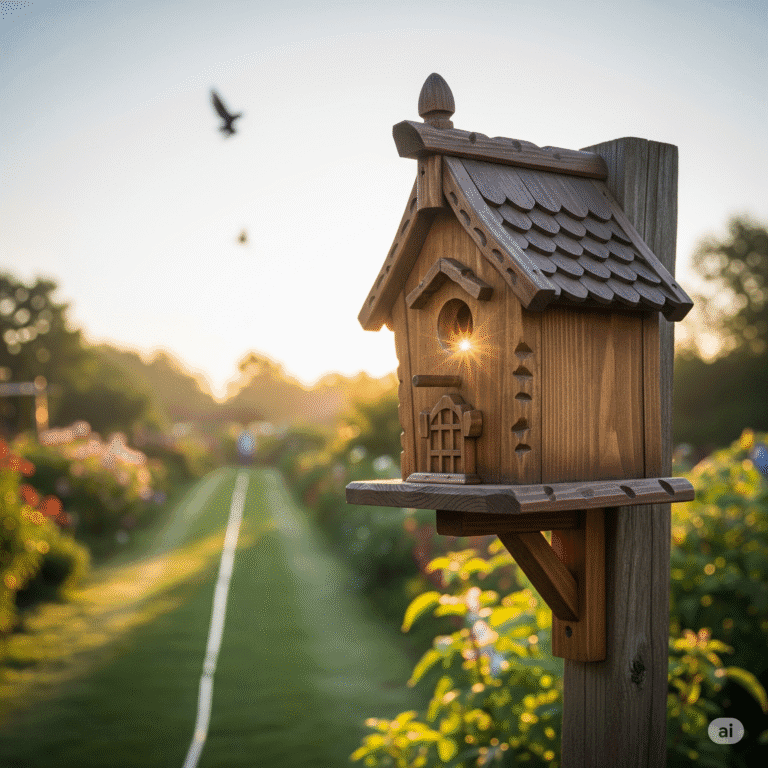
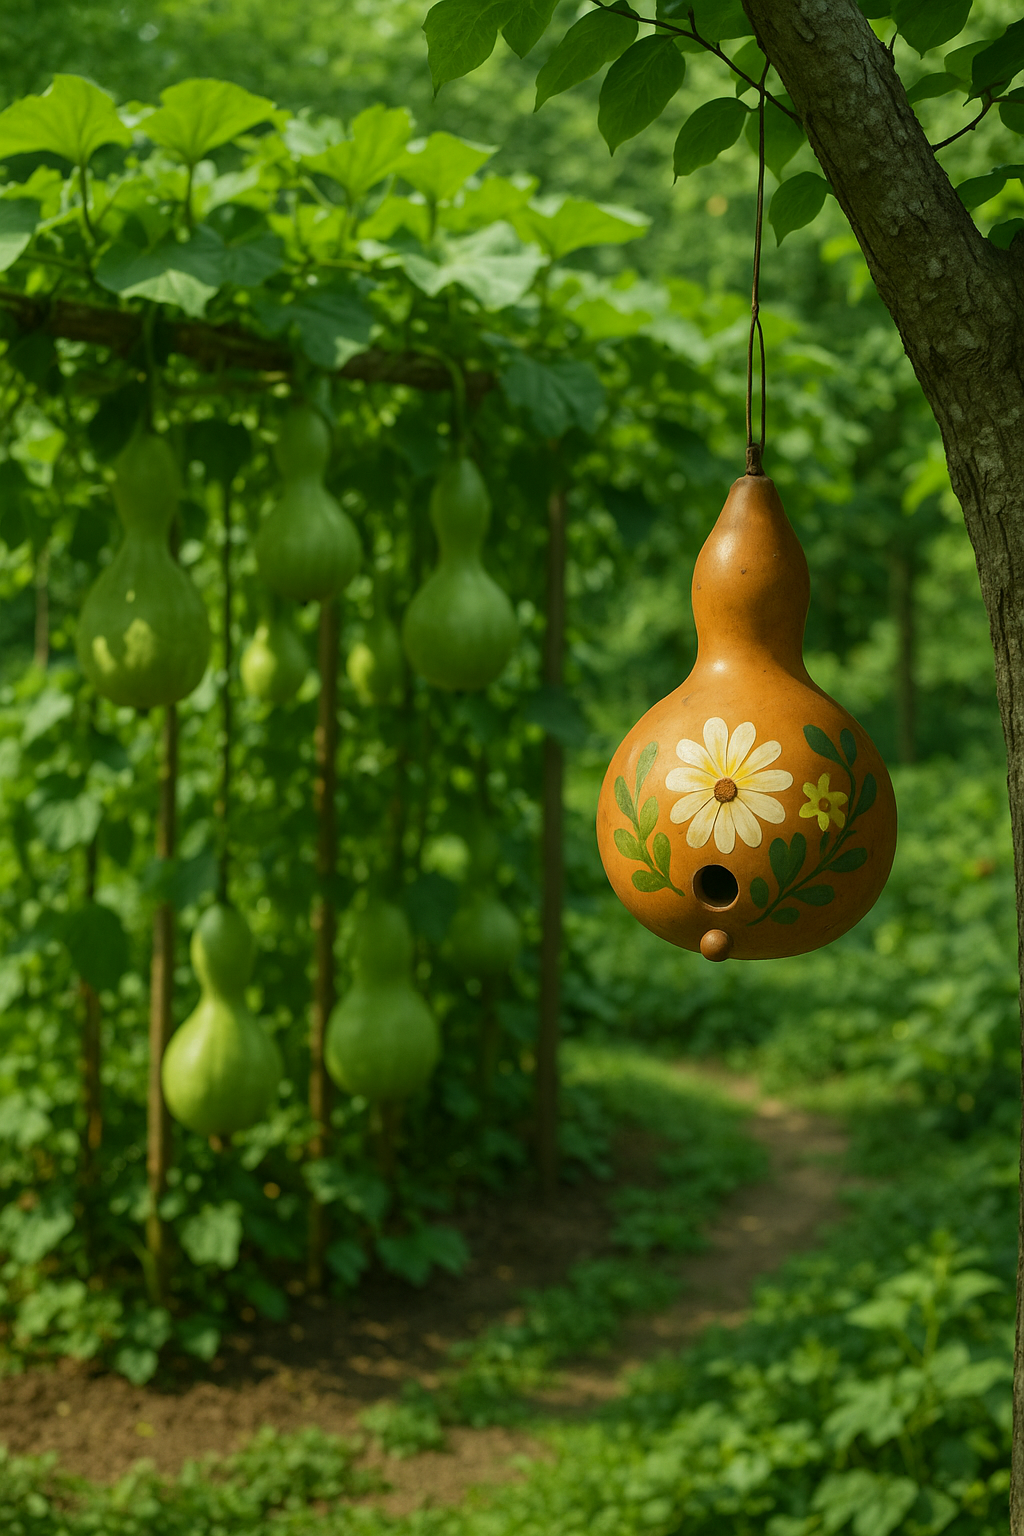
Growing gourds for birdhouses is one of the most rewarding projects for gardeners and bird enthusiasts alike. Because gourds are natural, durable, and lightweight, they create ideal nesting spaces for birds such as wrens, chickadees, purple martins, and nuthatches.
Although it may sound like a complex project, the process is simpler than most beginners expect. With the right growing conditions, proper drying techniques, and careful preparation, you can transform a single vine into dozens of long-lasting, eco-friendly birdhouses.
This guide covers everything you need to know about how to grow gourds for birdhouses, from choosing the right seeds to shaping, drying, cleaning, and preparing them for nesting birds. Along the way, you’ll find helpful gardening tips, troubleshooting advice, and product suggestions to make your project smoother and more successful.
Gourd Seeds Birdhouse Bottle Gourd Seeds,50 Seed Pack USA Product. Cool Beans N Sprouts Brand
Check Price
Birdhouse Gourd – 25 Seeds – Heirloom Bottle Gourd Variety, Non-GMO Gourd Seeds for Planting Outdoors in The Home Garden
Check PriceUnderstanding the Best Types of Gourds for Birdhouses
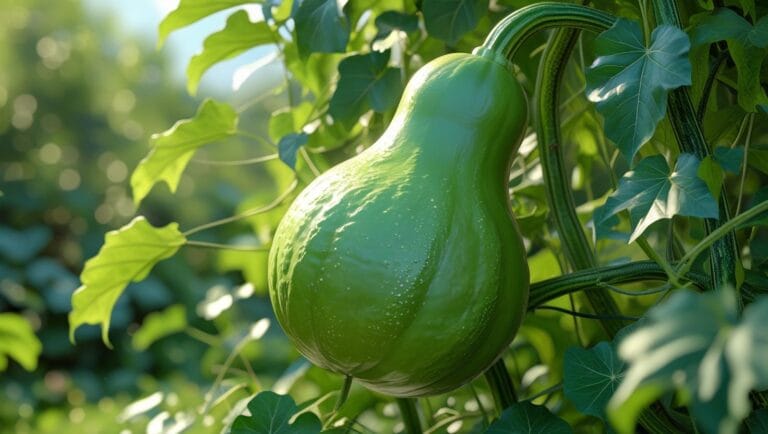
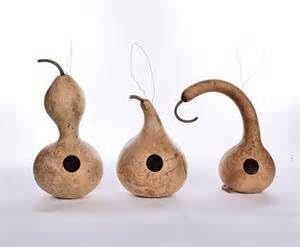
Not all gourds are suitable for birdhouse crafting. Hard-shell gourds, often called bottle gourds or birdhouse gourds, are the best choice because they develop thick shells, natural durability, and roomy interiors once hollowed out. These gourds begin as soft, green fruits but harden significantly during the drying process, making them perfect for outdoor use.
Types commonly grown for birdhouses include:
- Bottle gourds
- Kettle gourds
- Martin gourds
- Dipper gourds (flipped and trimmed for unique shapes)
Even though all hard-shell varieties work well, bottle gourds remain the most popular because of their classic round shape and easy handling.
How to Plant Gourds for Birdhouse Making
Choosing and Preparing Seeds
Once you decide on the type of gourd you want to grow, the next step is selecting high-quality seeds. Hard-shell gourd seeds are naturally tough, so using fresh or well-stored seeds helps ensure good germination. Many growers soak their seeds for a few hours before planting to soften the seed coat and encourage sprouting.
If you prefer convenience, you can purchase pre-packaged seed varieties such as:
- Heirloom Birdhouse Gourd Seeds
- Organic Hard-Shell Gourd Seeds
- Long-Handled Dipper Gourd Seeds
(Available on Amazon and garden stores)
Planting Time and Soil Preparation
Gourds are warm-weather plants, which means they should be planted outdoors only after all danger of frost has passed. Starting seeds indoors two to three weeks before planting can give them a stronger start, especially in cooler climates.
These plants thrive in well-drained, nutrient-rich soil. Adding compost or aged manure helps support vigorous vine growth and larger fruits later in the season. Because gourds are heavy feeders, preparing the soil well ensures a healthy harvest.
Supporting Gourd Vines for Healthy Growth
Gourd Seeds Birdhouse Bottle Gourd Seeds,50 Seed Pack USA Product. Cool Beans N Sprouts Brand
Check Price
Birdhouse Gourd – 25 Seeds – Heirloom Bottle Gourd Variety, Non-GMO Gourd Seeds for Planting Outdoors in The Home Garden
Check PriceGourds grow as long creeping or climbing vines, and they require significant space. Although they can sprawl across the ground, elevating them on trellises or fences provides better airflow and helps the fruits grow in cleaner, rounder shapes.
Choosing the Right Support System
Most growers use materials such as:
- Metal garden trellises
- Tall wooden fences
- Strong arbors or pergolas
- Horizontal wire panels
The vines can become extremely heavy as the fruit matures, so choosing a sturdy system is essential. Some gardeners use heavy-duty garden netting (available online) for additional support.
Watering and Fertilizing Gourds for Best Results
Consistent watering is one of the most important parts of growing gourds. These plants do not tolerate drought, and irregular watering can lead to misshapen fruits. However, the soil should not remain soggy. Instead, aim for deep watering two to three times per week depending on your climate.
To support fruit development, many gardeners apply a balanced fertilizer such as a 10-10-10 garden fertilizer or organic compost blend. Feeding the plants every three to four weeks helps them produce large, high-quality gourds suitable for crafting.
When and How to Harvest Hard-Shell Gourds
Harvesting gourds at the right time ensures they will dry properly and develop strong shells. Gourds should be left on the vine until they are fully mature, meaning the stems have browned and dried naturally. Cutting them too early can cause rotting during the drying process.
Once harvested, leave a few inches of stem attached to prevent rot from entering the fruit. A long stem also adds character if you want a traditional birdhouse look.
Drying Gourds Naturally Before Crafting Birdhouses
Drying hard-shell gourds requires patience, but the results are worth the effort. Although it may take several weeks to months, the process happens naturally as the moisture inside the gourd evaporates.
Place the harvested gourds in a dry, well-ventilated area such as:
- A shed
- A garage
- A covered outdoor space
Rotate them every week to help them dry evenly. Mold may appear on the surface, but this is normal during the curing process. Wiping the gourds with diluted vinegar helps keep mold from staining the shell.
Once the gourds feel light and the seeds rattle inside, they are fully dried and ready for crafting.
Cleaning and Preparing Gourds for Birdhouse Use
Gourd Seeds Birdhouse Bottle Gourd Seeds,50 Seed Pack USA Product. Cool Beans N Sprouts Brand
Check Price
Birdhouse Gourd – 25 Seeds – Heirloom Bottle Gourd Variety, Non-GMO Gourd Seeds for Planting Outdoors in The Home Garden
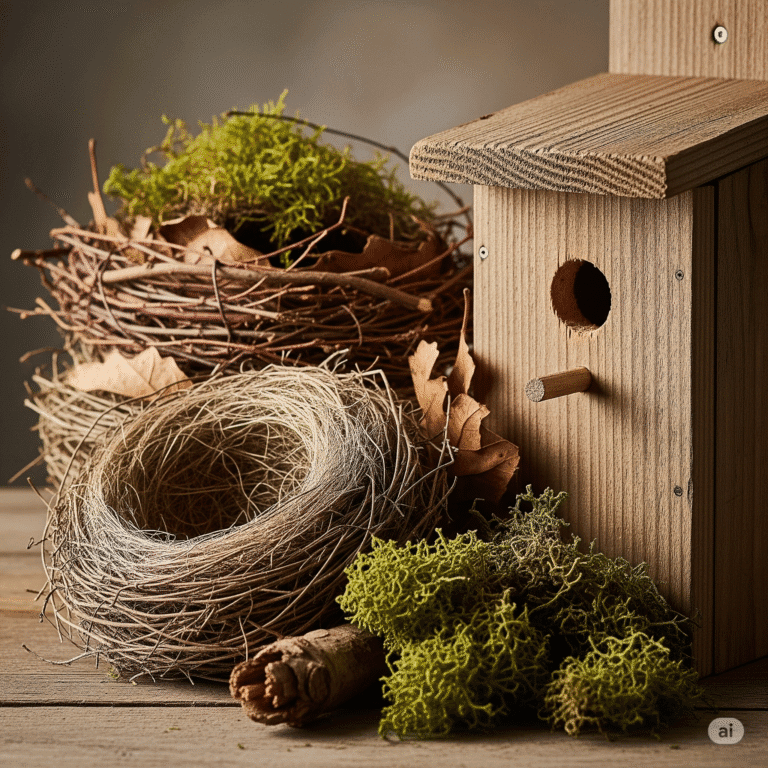
Check PriceAfter the gourds are dry, you can begin transforming them into birdhouses. Start by cleaning the outer shell with a scrub brush and warm soapy water. When the surface is smooth and clean, create an entrance hole that matches the type of bird you want to attract. For example, wrens prefer small entrances around 1 inch in diameter, while purple martins need larger openings.
To hollow the gourd, shake out the seeds and inner material. This can be messy but is an essential step to create a safe nesting space. Many people lightly sand the exterior before painting or sealing the gourd for added protection.
Products that help with preparing gourds include:
- Fine-grit sanding sponges
- Non-toxic outdoor acrylic paint
- Water-based polyurethane sealant
These tools ensure your finished birdhouse lasts for years and remains safe for wildlife.
Pros and Cons of Using Gourds for Birdhouses
Pros
Growing your own gourds gives you complete control over size, shape, and quality. Many bird species prefer gourd birdhouses because they are natural and breathable. Additionally, gourds are inexpensive to grow and maintain, making them ideal for beginners.
Cons
The drying process can be lengthy, and not every gourd will survive the curing stage. Because gourds depend heavily on warm weather, gardeners in cooler regions may need a longer growing season or indoor seed-starting setup.
Tips for Successful Gourd Growing
Although gourds are generally easy to grow, a few tips can help you achieve more successful results. First, plant them in an area with full sunlight, since shade can reduce fruit size and overall yield. Additionally, training the vines early prevents overcrowding and helps maintain healthier plants. Finally, spacing your plants properly ensures better airflow, reducing the risk of disease.
Water consistently, mulch the soil to keep it cool, and monitor for pests such as squash bugs, which can damage young vines. A handheld sprayer and organic insect control products can help minimize damage.
FAQs About Growing Gourds for Birdhouses
Gourd Seeds Birdhouse Bottle Gourd Seeds,50 Seed Pack USA Product. Cool Beans N Sprouts Brand
Check Price
Birdhouse Gourd – 25 Seeds – Heirloom Bottle Gourd Variety, Non-GMO Gourd Seeds for Planting Outdoors in The Home Garden
Check PriceDo gourds need full sun?
Yes, gourds thrive in at least six to eight hours of sunlight per day. Adequate sunlight helps them produce strong vines and large fruits suitable for crafting.
How long do gourds take to dry?
Drying can take anywhere from one to six months depending on climate, size, and air circulation.
Can I paint my gourd birdhouse?
Absolutely. Use non-toxic, water-based outdoor paints to ensure they remain safe for birds.
What birds use gourd birdhouses?
Wrens, chickadees, purple martins, and nuthatches commonly use gourd birdhouses.
Do gourds grow back every year?
Gourd plants are annuals, meaning they must be replanted each year from seed.
Conclusion
Learning how to grow gourds for birdhouses opens the door to a unique blend of gardening, crafting, and wildlife appreciation. Because the process is simple and highly rewarding, gardeners of all skill levels can enjoy turning these natural fruits into long-lasting homes for backyard birds. With the right growing conditions, proper drying techniques, and thoughtful preparation, your gourd birdhouses can attract nesting birds year after year.
If you want to expand your knowledge further, you can also explore how to attract wrens, prepare safe nesting materials, or choose the right birdhouse placement for specific species.
Sanom is a lifelong nature enthusiast and passionate backyard birder who has spent years observing bird behavior and building DIY birdhouses. With a deep curiosity for species like chickadees, wrens, and woodpeckers, he shares practical tips and heartfelt stories to help others attract, shelter, and appreciate the wild birds around them. Whether you’re crafting your first birdhouse or simply enjoying morning songbirds, Iftekhar’s guides on BirdHouseTales.com are designed to bring you closer to the magic of birdwatching.